Add an individual's or companies information to TermSheet to track and maintain critical information in a centralized place.
📑 Learn to:
💡 Things to Consider:
When adding a contact, if the company field is filled out, the company will be created in TermSheet automatically.
Deleting a contact will not delete the company associated. Deleting a company will not delete any contacts associated.
⚙️ Steps
Add a Contact from a Company Record
Start in "Companies" when adding a new contact and new company together. Add company details, then add the contacts from the "Contacts" panel within the company record.

Add a Contact
Add VCard
- Select the CRM tab.
- Select "Contacts"
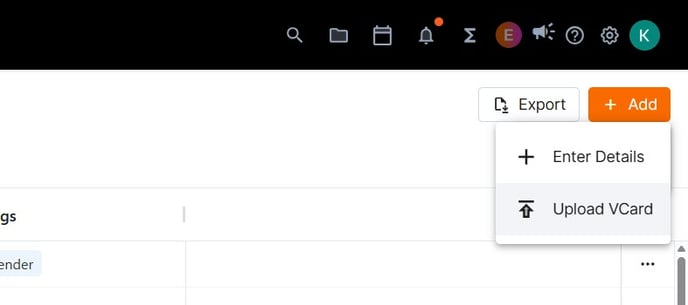
- Select "+Add"
- Select "VCard"
- Upload or Drag and Drop the VCard onto the window in TermSheet.
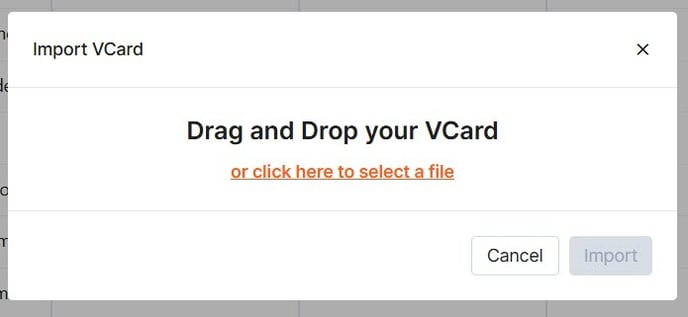
- Select Import.
Enter Details
-
Select the CRM tab.
-
Select "Contacts"
-
Select "+Add"

-
Select Enter Details. Use the add contact form to enter the contact details.

Name - (Required) Enter the full name.
Contact Type - (Required) Select a persona from the dropdown of options. Additional options can be added in Dropdown Customizations.
Job Title - (Optional) Enter the contact's official job title
Company - (Optional - Recommended) Enter the company the contact is associated with. The company will be added to the list of companies once the contact is saved.
Email - (Optional-Recommended) Enter the email associated to the contact. This is required to send messages directly from TermSheet.
Phone - (Optional) Enter the phone number associated with the contact.
Tags - (Optional - Recommended) Add key words to help categorize contacts. -
Select Save.
Edit a Contact
-
Select any contact from the list.
-
Select the pencil icon and the contact fields will become editable.

-
Select the save icon to save any changes before navigating away or select the x icon to cancel the changes.

Delete a Contact
-
Select any contact from the list.
-
Select Delete.