
📑 Learn To:
💡 Things to Consider
When mapping an Excel model to Termsheet, it is important to map the model template, then generate new models from the mapped template for all new deals.
To map historical /in-progress models, consider: Shortcut the Mapping Process on Model Templates via Excel Cut and Paste
The action Pull from TermSheet will take a value from a field in the workspace and overwrite the mapped cell on the model.
Take caution to avoid pulling values into cells using formulas on model so that formulas are not overwritten by hard coded values. In these cases, utilize the "Ignore" tab which skips specified fields during publish / pull actions.
⚙️ Steps
Before mapping an Excel model template, install the TermSheet Add-in.
Map an Excel Model Template to Object Fields
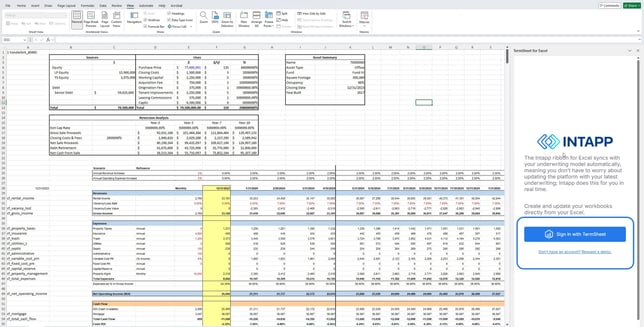
- Open the model template in Excel. It is important to map the model template that new models will be created from. This allows the mapping to carry over into models created from this template file.
- Open the Excel Add-in and log in using the same login credentials used to access the workspace. SSO is supported for SSO enabled workspaces.
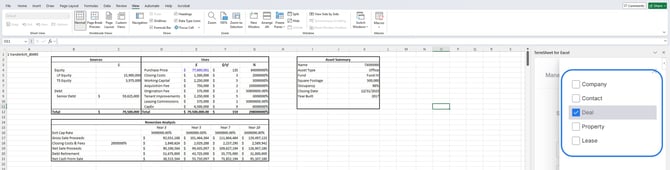
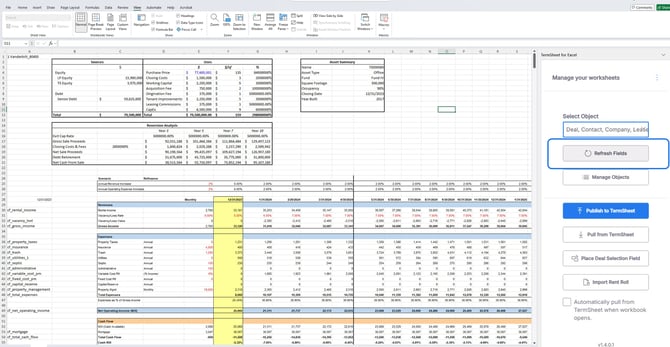
- Use the dropdown field Select Object to view the object(s) available to be mapped from the workspace.

- Use the checkboxes to select object(s) to map. Select as many as apply to this model template.
- Refresh Fields to populate mapping sheets for each of the selected objects.
- 2 sheets per object will populate for each object selected.

1- Object Name: This sheet contains the object fields
1- Ignore - Object Name: This sheet contains "Do Not Pull" & "Do Not Publish" columns - Navigate to the Object Name Sheet.

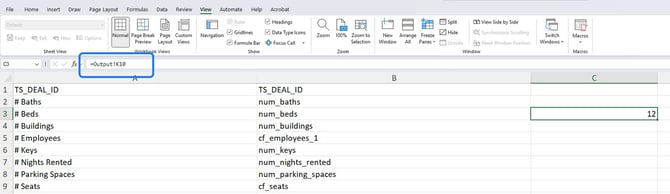
- Column A contains the field Label (or user-facing field title)
Column B contains the field name (or system generated unique identifier)
Column C is blank and where field mapping will take place.
- Create a reference field in column C of the Object sheet. Enter = , then navigate to the cell where that field is found within the model. Select the cell, then select enter to save the reference cell formula.
- Work down the list of fields, creating reference fields to map any fields that should be published into the workspace and/or pulled from the workspace into the model.
-
Consider any fields that should not be published or should not be pulled when the action buttons are selected.
(Optional) Navigate to the Ignore sheet. - List the field identifier (Column B) in the Do Not Pull or Do Not Publish column to skip that field when the action buttons are selected.
Example Do Not Pull - Take caution to avoid pulling values into cells using formulas on model so that formulas are not overwritten by hard coded values.
Example Do Not Publish - Output fields that are calculated from within the workspace are typically not published from the model, and only pulled into the model when necessary.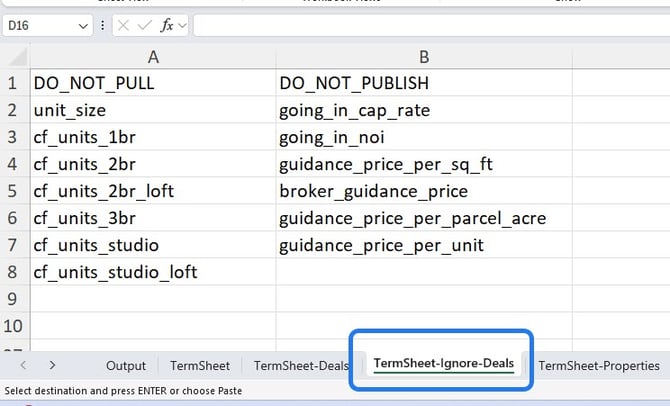
- Repeat the process of mapping object fields on the Object Sheet and Ignore Sheet for the remaining objects selected.
- Save the mapped model to a shared location so team members can create new models from this mapped template model.
Manage Object Records - Select an Object Record for action
-
Open the Excel model. Ensure object fields have been mapped as shown in the steps above or via this shortcut for historical / in-progress models
-
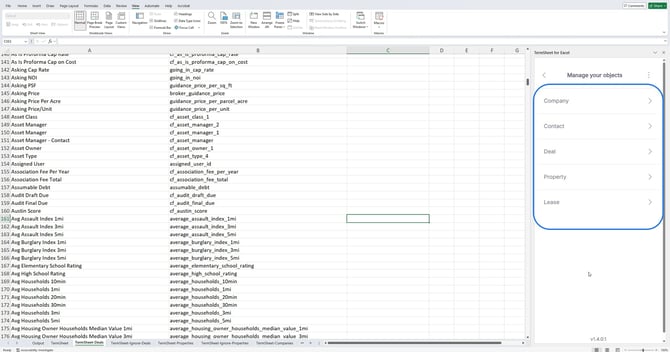
Select Manage Objects from the Excel Add-in Sidebar.

- Select any object from the list to get started.
-
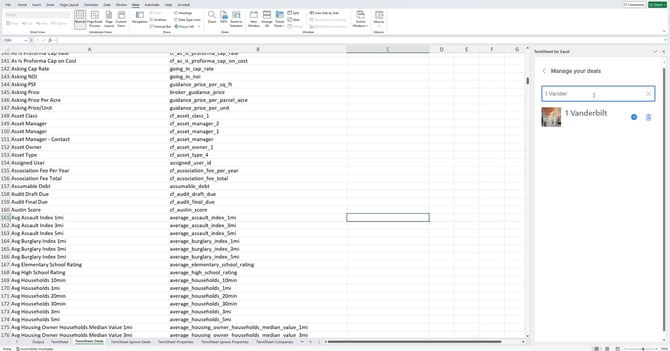
Search for the object record using the search bar.
-
Select the + icon next to the deal to link it. Cell C1 on the corresponding Object Sheet will be filled with the record name & ID.
-
If the wrong record was selected, use the trash icon to remove it or simply clear the cell C1 on the object sheet.
Pull or Publish Model Data
-
Select an action button to publish or pull model data to/from the workspace
-
Messages will appear in the sidebar to notify users of action progress.
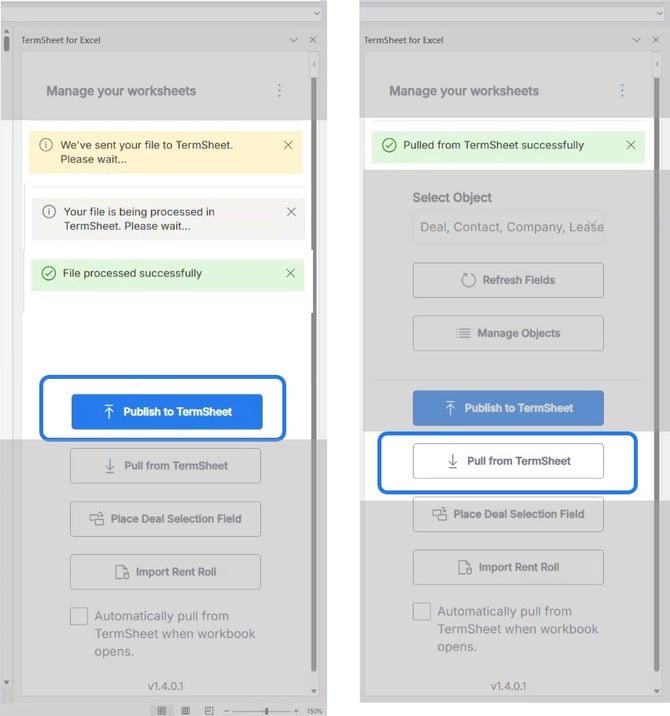
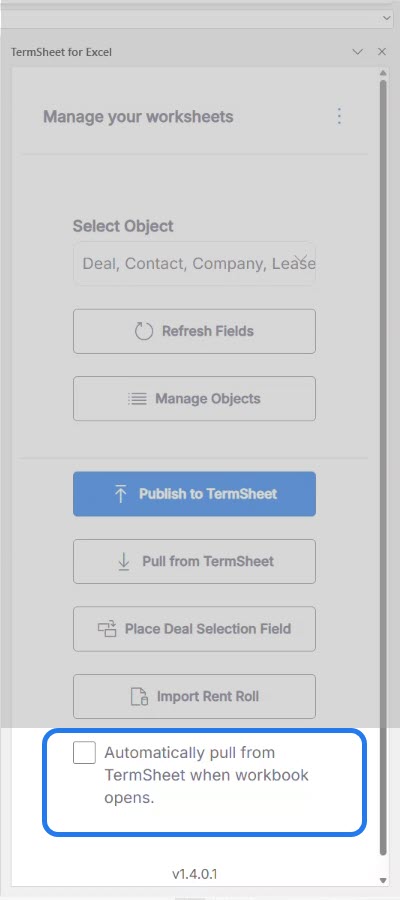
- To trigger a Pull action automatically whenever the model is opened, select the checkbox at the bottom of the sidebar.
Refresh Object Fields on the Model (when new fields are added to the workspace)
The first time Refresh Fields is selected on a model, the object mapping sheets will populate onto the model.
Subsequently, selecting Refresh Fields will populate any missing object fields onto the object mapping sheets. Typically this is used when new fields are configured for the object and need to be mapped onto the model.
Any new fields will be appended to the bottom of the sheet as to not disrupt the existing mappings.
-
Use the Select Object dropdown to select objects to refresh fields from.
-
Select Refresh Fields to populate a complete list of object fields onto the object mapping sheet. New fields will be appended to the bottom of the list.
- Map any new fields by creating a reference cell.
- Save the changes