Approvals brings a structured review-and-sign-off workflow to Deals. Instead of emailing spreadsheets or screenshots back and forth, you can send a snapshot of a deal for approval, assign the people who need to weigh in, and track every decision in one place.
📑Learn To:
💡Things to Consider
Approvals are off by default. To enable Approvals, contact your client success manager or reach out to support@termsheet.com
Only users with "Manage Approvals" permission will appear as eligible approvers.
Once an approval request is sent, the approval snapshot is locked. Editing the live deal data does not change what the approvers see.
If any approver returns a request for revision, all prior approvals will be cleared and a new cycle of approval requests must be sent.
⚙️Steps
Create an Approval Request
- From any object record, select the Approvals tab.
- Select Add Approval to start a new approval snapshot.
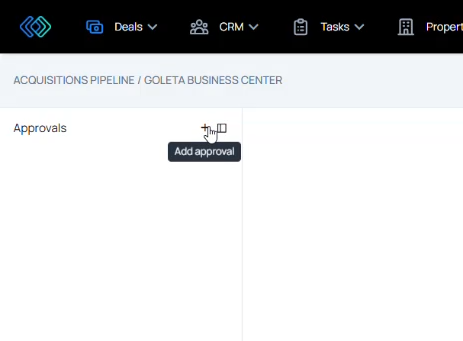
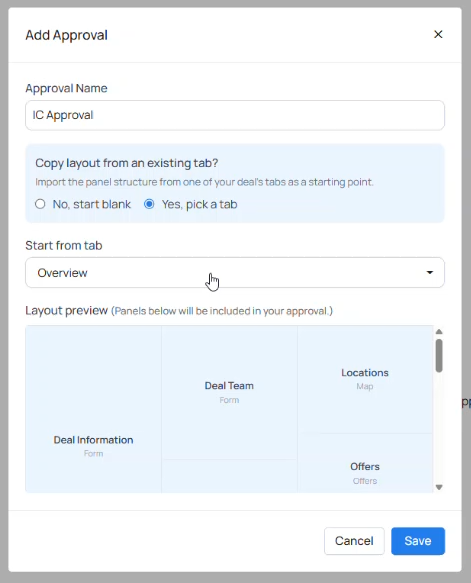
- Create the approval from blank or select an existing layout tab to start from.
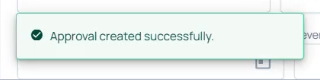
- A success message will appear once the approval has been created successfully.
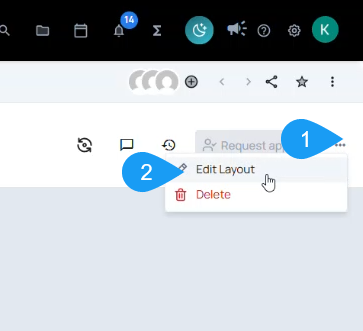
- Edit the approval snapshot. If starting from blank, select Edit Layout and add panels as desired.
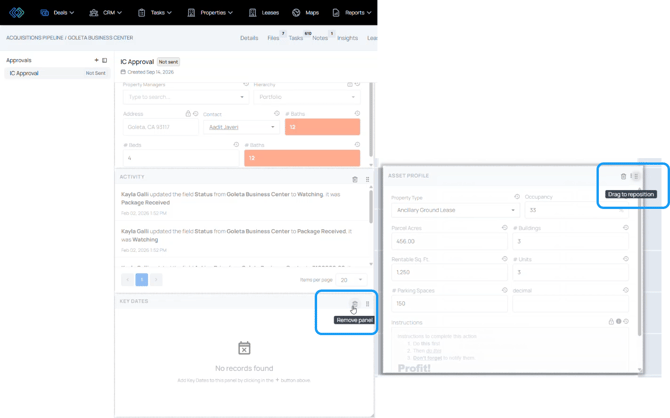
- When starting from a layout tab, panels can be added, removed, and reordered as desired.
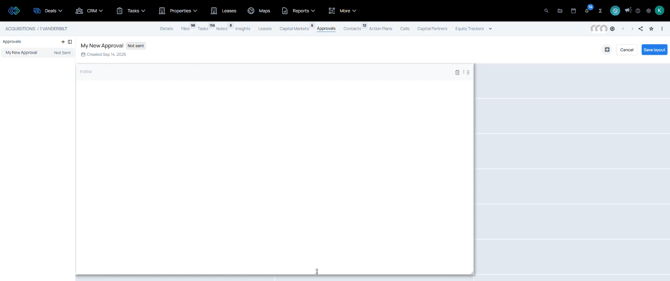
- Select Save Layout once the approval layout is completed.
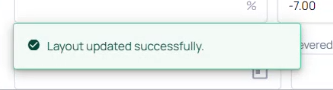
- A success message will appear to confirm the layout is saved.
Select Approvers
-
Select Add Approvers to start selecting approval recipients.
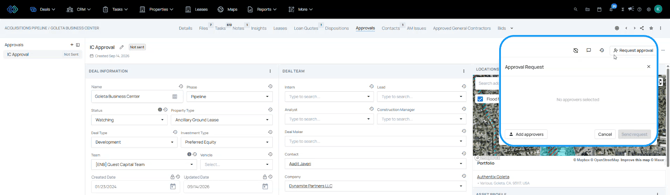
- Only users who have the "Manage Approvals" permission enabled will appear in the dropdown.
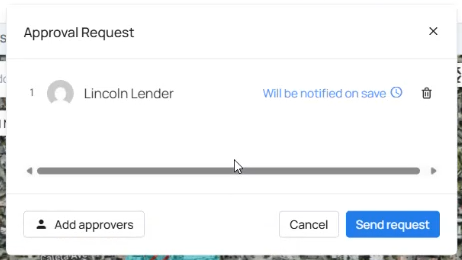
- Select Send request
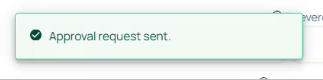
- A success message will appear when approval emails have been dispatched.
Respond to Approval Requests
- Approvers will receive an email with subject line "[Record Name] Approval Request"
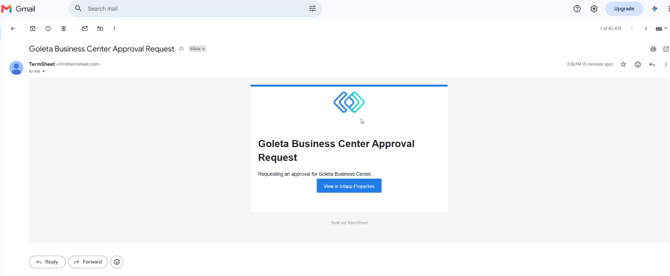
- Select the "View in Intapp Properties" button in the email to be redirected to the approval ready for response.
- Select "Submit Review"
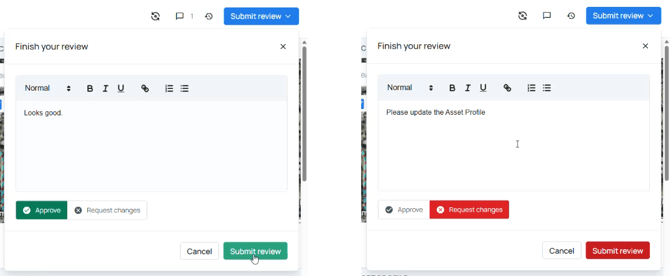
- Leave a comment and select an approval option: "Approve" or "Request changes".
- Select "Submit Review" to send the approval response.
The refresh icon will appear green when updates are available. Select refresh to see the most recent updates.
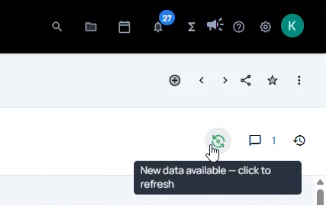
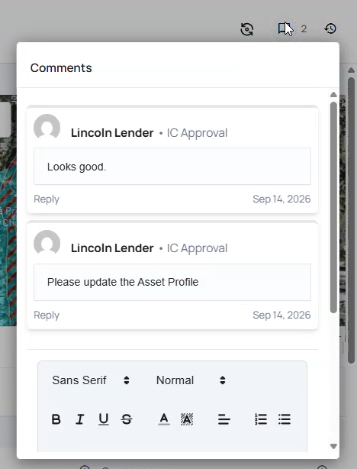
Select the comment icon to add comments or view comments left by the approver.